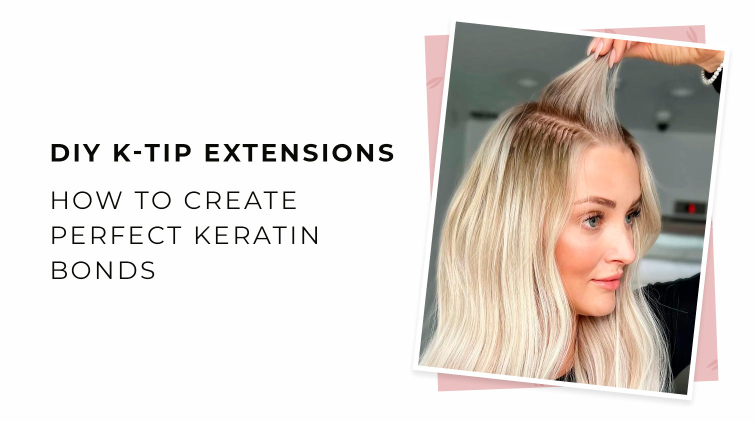
K-tip hair extensions, also called keratin tip extensions, are individual strands sealed with keratin and fused to natural hair using heat. They’re discreet, flexible, and when done right, almost invisible.
You can simply buy ready-made pre-bonded extensions and close the issue. A lot of people do it this way because it is convenient and quick. But one day you’ll get a feeling that you are playing by someone else's rules. The tip size isn’t the one you got used to, keratin glue color doesn’t match the hair, the quality of bonds is always a lottery - you never know for sure what you will get. And here's a solution: you can make k tips yourself and get the exact results you need, with no compromises.
No matter if you are a stylist or a customer, if everything written above resonates with you, then this blog is for you. Keep reading to know how to make k-tip extensions properly and how to re-bond them for the reapplication procedure.
IN THIS ARTICLE
- What Is Extensions Encapsulation and Why is it Important?
- What Is Extensions Re-Tipping
- Benefits of DIY K-Tip Extensions
- Tools & Supplies You Need to Do Your Own K Tip Extensions
- The Process of Making Hair Extensions Capsules and Time Required
- Different Methods of Hair Extensions Capsule Formation
- Hair Drawing Mat VS Card for K-Tip Extensions
- Choosing the Right Capsule Size for K-Tip Extensions
- Why Mastering the Right K-Tip Creation Technique Matters?
- Professional Hair Extension Encapsulation Course by I Love Slavic Hair
What is Extension Encapsulation and Why is it Important?
Hair encapsulation is a process of enclosing hair strands into small keratin capsules that later become bonds.
This step is crucial because it affects the comfort and durability of tipping hair extensions. A properly-made flat tip is small, discreet, balanced, and doesn’t pull. Poor quality capsules are noticeable, uncomfortable, and can damage your natural hair.
Once your capsules are formed, they are applied to the hair using the hot fusion method, where a heat connector melts the keratin bond and fuses the extension strand to natural hair.
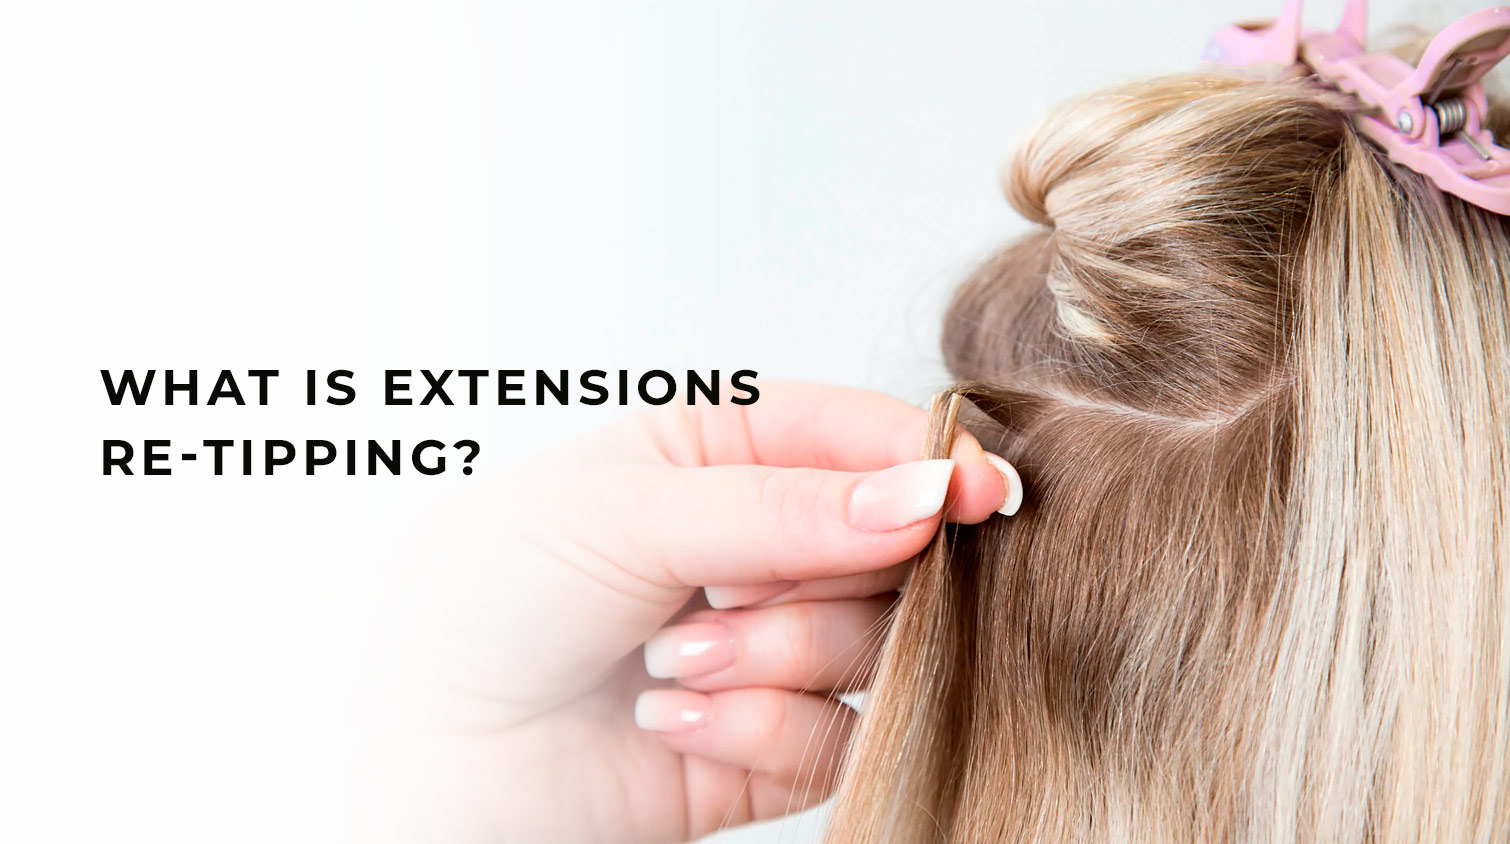
What Is Extensions Re-Tipping?
The process of re-tipping includes:
- Removing old keratin bonds
- Cleaning the hair
- Creation of new capsules.
Rebonding K-Tips for a fresh reinstall makes sense when the hair itself is still beautiful and satisfies the desired length.
Re-tipping of bonded hair extensions with keratin capsules saves money and gives you control over the new bond size and shape. Once you learn it, you don’t need to buy pre-bonded sets anymore, or waste time sending the hair back for re-tipping.
Benefits of DIY K-Tip Extensions
Doing your own pre-bonded hair extensions allows you to customize the tip size according to your needs, helps you to save money by reusing hair extensions instead of buying new pre-bonded sets, and also allows you to control keratin quality and bond shape.
DIY K-tip extensions are especially worth it when you work with top-quality, high-end hair.
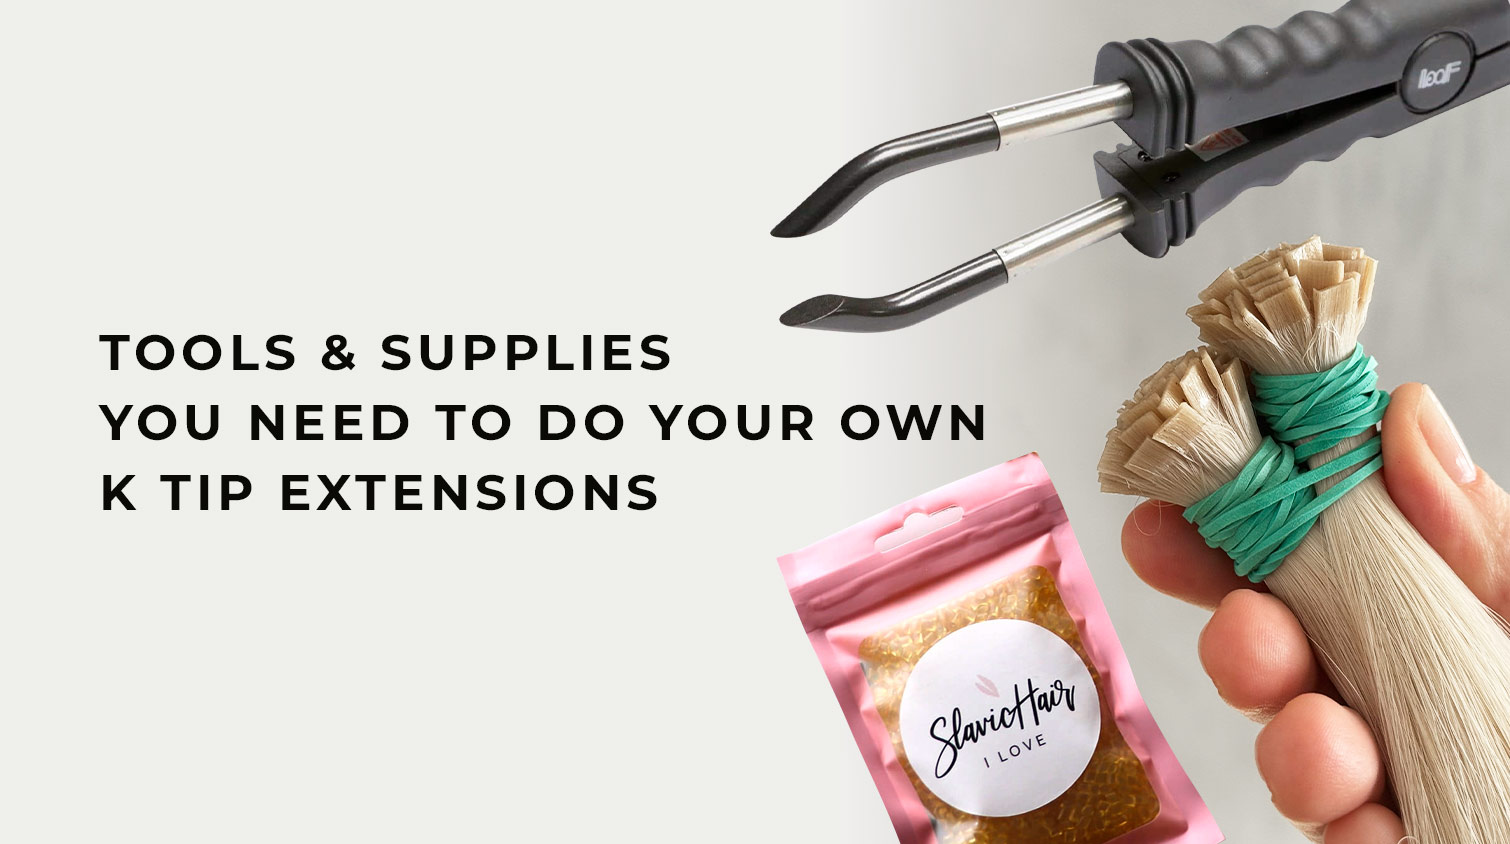
Tools & Supplies You Need to Do Your Own K Tip Extensions
Keratin rebonding supplies and tools to reuse hair extensions:
- Hair drawing mat or hair card (optional, but helpful)
- Keratin glue beads (Italian or gel keratin)
- Heating tool (supporting the needed temperature to melt keratin glue grains)
- U-shaped pliers
- Scissors
- Rubber bands
- Flat, clean workspace
A proper extensions encapsulation kit keeps everything uniform, making your capsules look professional, no matter if they are created at home or in a hair studio.


The Process of Making Hair Extensions Capsules and Time Required
Even hair distribution, the right hair length, and careful keratin glue application all affect the final result and help prevent discomfort or hair damage.
For fine hair, using smaller capsules is a safer choice.
Process overview:
- Preparation: Loose hair is placed on a carda, a strip of fabric or leather with embedded needles.
- Organization: The needles align the hair and remove short or weak hairs that could interfere with the capsule formation.
- Strand formation: A clean, even strand is separated.
- Capsule creation: keratin glue is melted and formed around the strand.
- Bonding: The capsule is attached to natural hair using high heat (heated clamp or forceps).
Average time for making k-tips for 100 grams of hair:
- Standard tips 1 gram of hair per strand: 2.5-3 hours per 100g
- Micro tips 0.6-0.7 grams of hair per strand: 3-3.5 hours per 100g
- Nano tips 0.3-0.5 grams of hair per strand: up to 5 hours per 100g
Recommendations:
- Make sure to use keratin glue beads color to match the root
- Use gel keratin glue for invisible results and stronger fixation of extended strands.
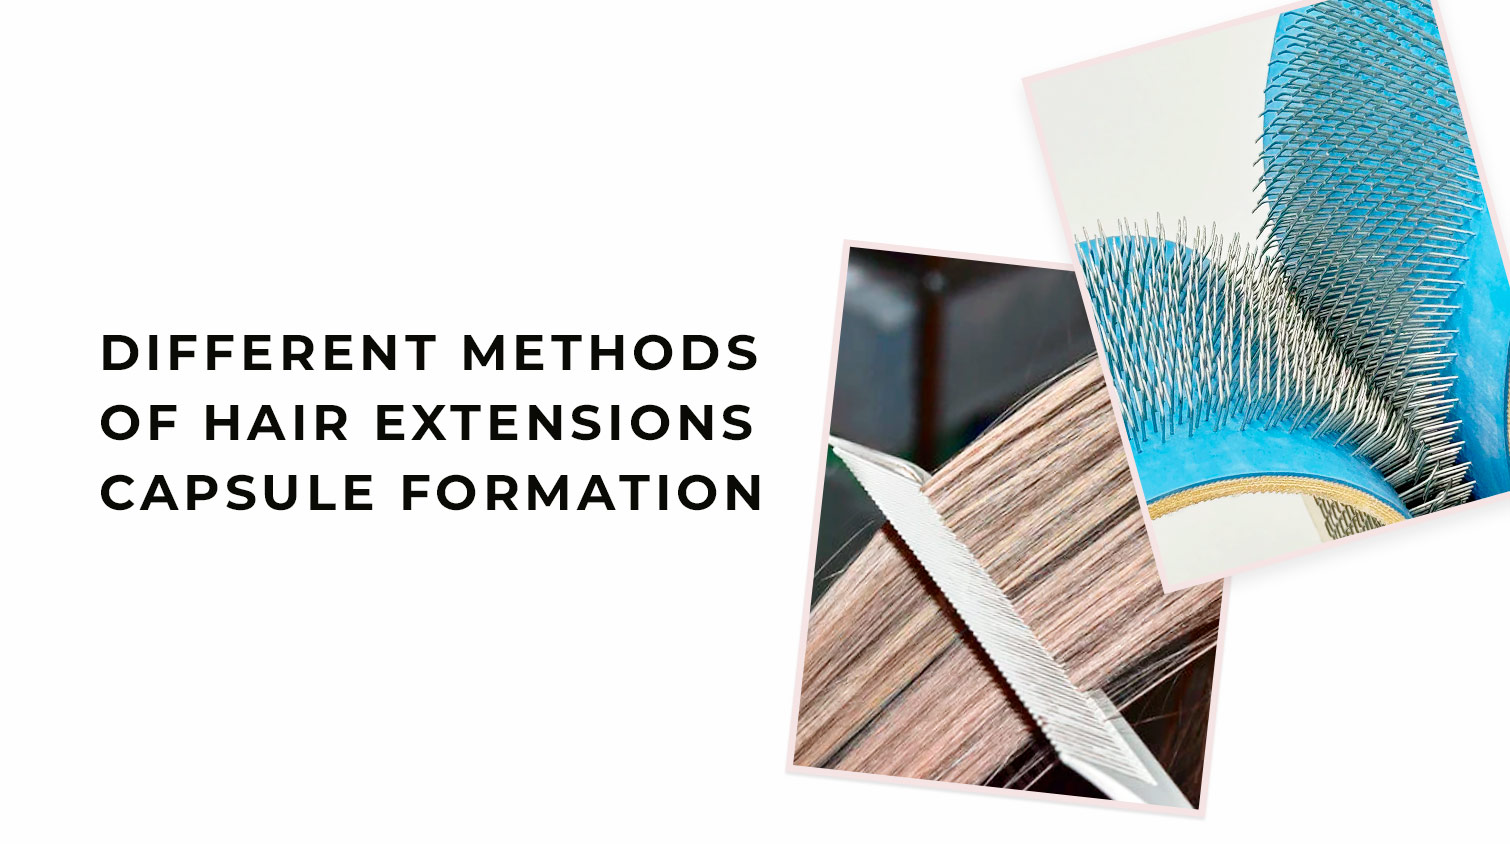
Different Methods of Hair Extensions Capsule Formation
A single “correct” method doesn’t exist, but there is one that fits your hands, your speed, and your patience. Some people need structure, but there are others who work better freehand.
Hair Card Method for Making K-Tip Extensions and Its Advantages
Hair extension card, also called a bonding card, hair tip card, or K-tip card, helps you control the size and shape of the capsules. It is often used with a hair drawing mat - the mat is the workspace, and the card provides precise shaping. Capsules are easy to transfer from the card to the fusion tool.
Pros:
- Minimizes hair length loss
- Creates uniform bundles
- Precise strand size
- Beginner-friendly
- Works for standard and micro K-tips
Hand-Formed Method: Tipping Extensions Without a Hair Card
The hand-formed method, also called the freehand method, is faster, but riskier. It requires high professional skills and experience, because capsule formation without a card is impossible if you don’t understand keratin behaviour and don’t feel the balance of strand size.
If you choose a manual capsule method, you are responsible for maintaining consistency. You need to use the same pressure, heat, and amount of keratin every time.
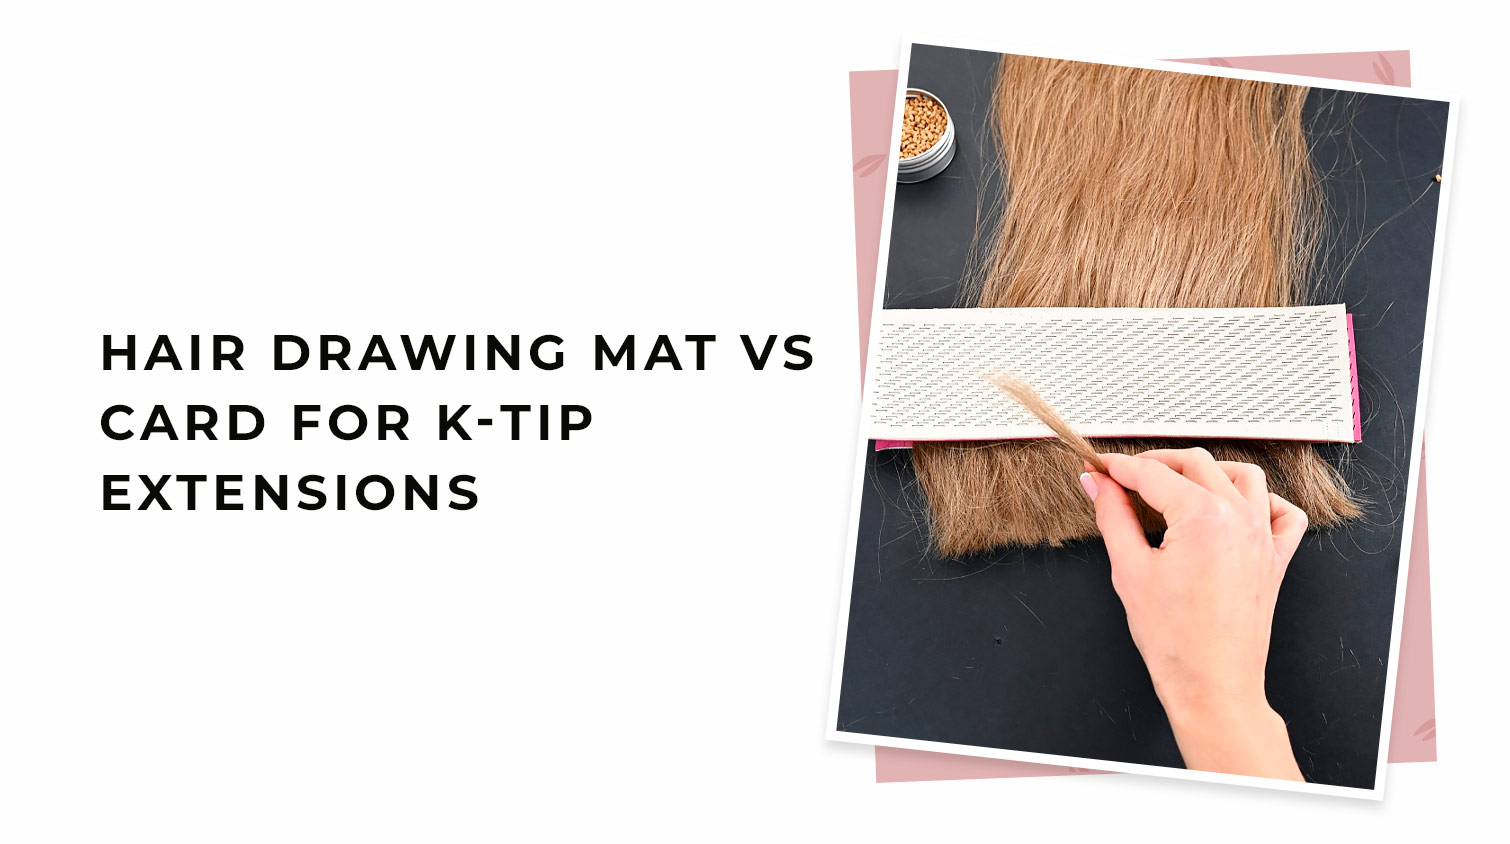
Hair Drawing Mat VS Card for K-Tip Extensions
A hair drawing mat or a fusion mat is made of soft silicone or rubber to not scratch hair and keep strands from sliding.
A hair card is usually made of wood or plastic, and is used to control strand size before tipping.
| Feature | Hair Drawing Mat | Hair Card |
| Material | soft silicone or rubber, flexible | wood or hard plastic |
| Use | workspace for hand-formed capsules; optional support for the card method | for forming strands before tipping; used in card method to control size of strands |
| Best for | professionals and DIY users who want precise control and flexibility | both professionals and beginners, as well as training |
| Advantages | anti-slip surface, gentle on hair, precise distribution | easy to control the strand size, convenient for learning |
| Combination | can be combined with a card for the card method | often used together with a mat at the workspace |
Choosing the Right Capsule Size for K-Tip Extensions
Capsule size isn’t about preference, it is about haircare. Smaller bonds reduce tension, while larger bonds save time but demand stronger hair. Smaller bonds require more time for installation, while larger bonds can feel bulky if used for finer hair types.
| Capsule Size | Weight per Strand | Shape | Hair Type | Wear Duration | Installation |
| Small (Nano) | 0.3-0.5 g | Flat | Fine | Shorter | Precise |
| Medium (Micro) | 0.7-0.8 g | Flat | Fine-Medium | Standard | Balanced |
| Standard | 1 g | Flat | Medium | Standard | Balanced |
| Large | 1.5-2 g | Oval | Thick | Standard | Faster |
Why Mastering the Right K-Tip Creation Technique Matters?
Hair stylists improve skills and offer new services for clients, while clients learn to re-capsulate or personalize extensions themselves. When you know how to do k tip extensions at home or in a salon, you have complete control over the quality and style of your capsules. This is crucial for bond strength and final look. This skill will give you confidence that shows in the result.
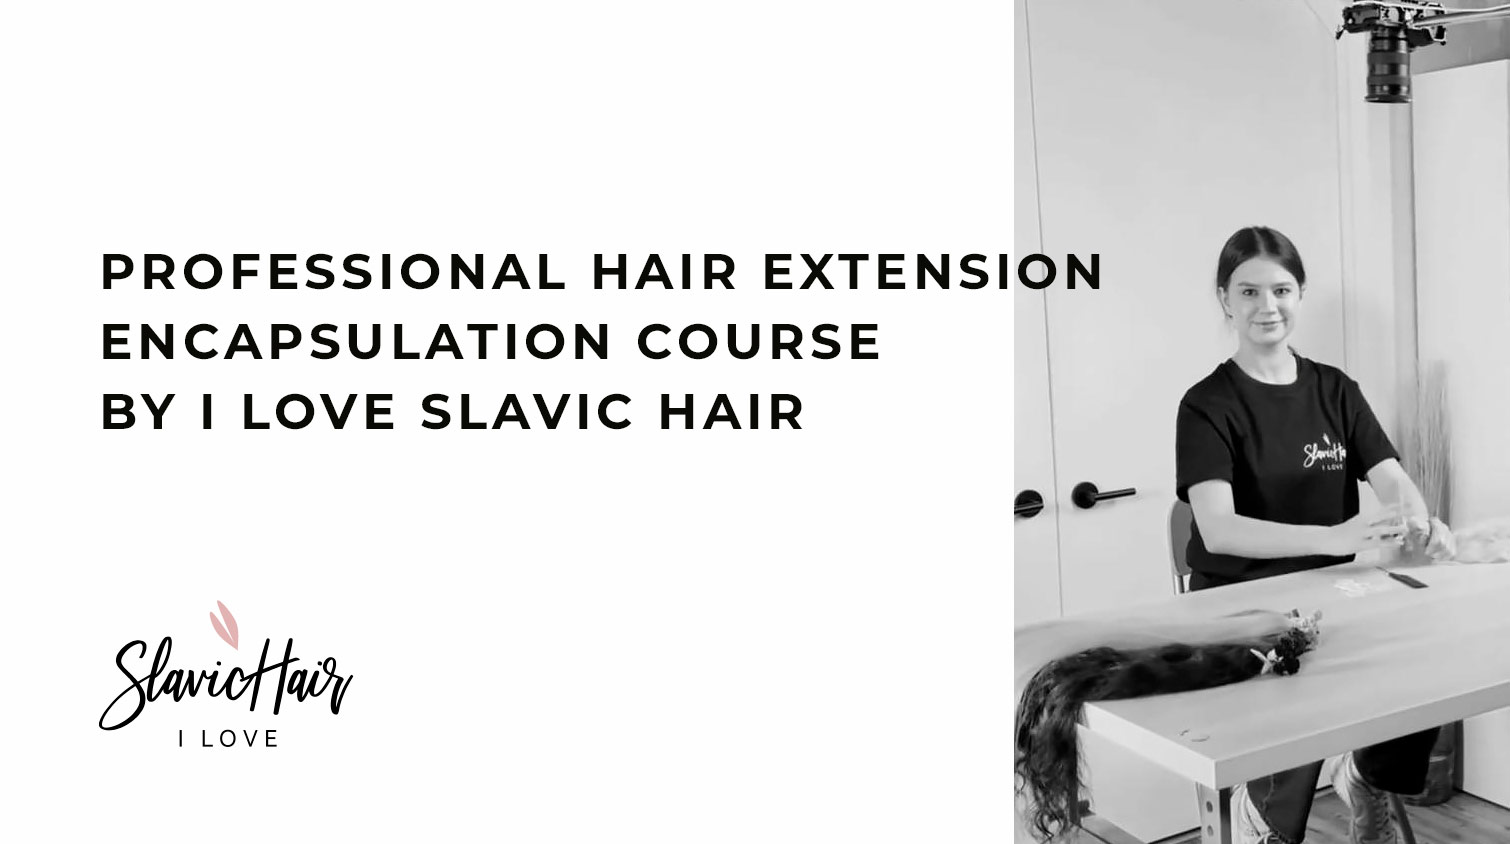
Professional Hair Extension Encapsulation Course by I Love Slavic Hair
We are excited to let you know that we are working on the creation of the best hair extension encapsulation course designed for both beginners and professionals who want to achieve cleaner and more reliable results.
In this course, you will learn:
- How to rebond hair extensions using different methods
- How to create capsules by hand, both with and without a hair extension card or drawing mat
- How to create standard, micro, and nano-sized K-tips
- How to choose the best materials and tools for your work
- Tips for making perfect capsules every time
By the end of the course, you will know how to create strong, perfect capsules that hold hair securely and blend seamlessly into any hairstyle.